Painting your house is a big deal. Most people are unaware of how to go about the whole process or what to do before painting. This checklist will give you the ‘know-how’ of a seasoned, pro painter.
Step 1: Choose your Colors

If you’re choosing a different color-scheme from your current house colors, DO NOT PROCRASTINATE. Easier said than done right?
It is very important to feel comfortable with the colors you’re choosing. After all, it could easily be another 8-12 years before you get another chance to paint again.
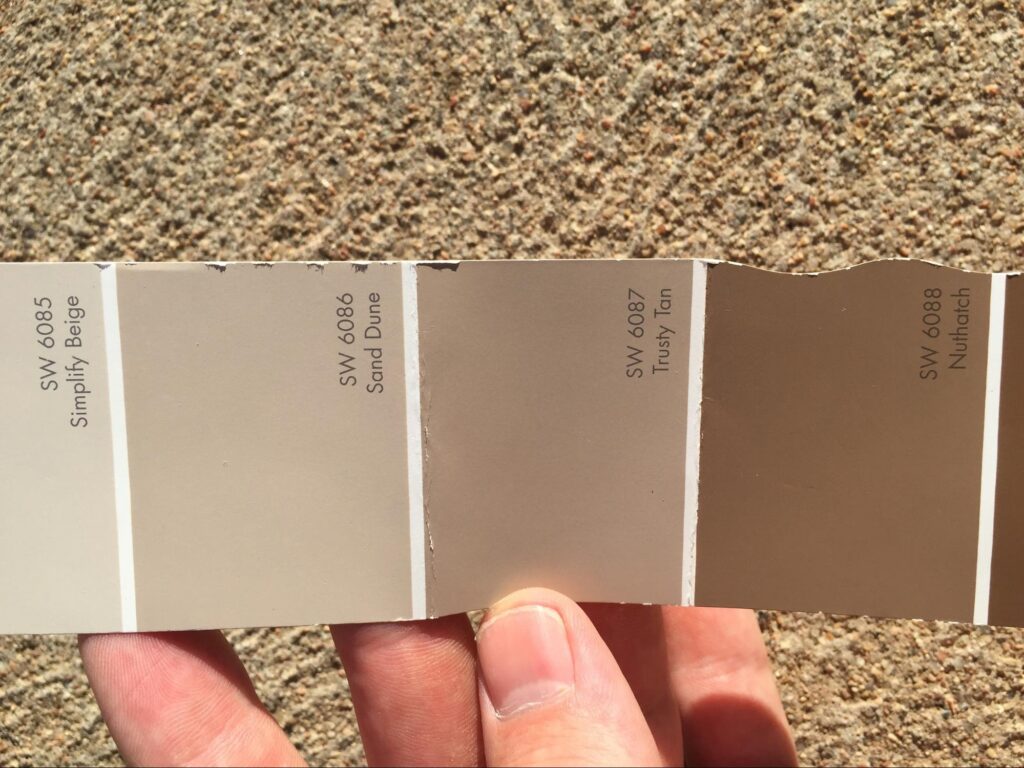
We seriously recommend getting color test patches for ALL the colors you’re considering. Leave the test-patches up for a week or two to see which colors you’re still comfortable with after a period of time.
The last thing you want is a rushed color decision followed by 10 years of ‘house-color-regret.’
Step 2: HOA Approval

Now that you have chosen your house colors, you must submit them to the neighborhood HOA for review (If you have an HOA).
Some neighborhoods do not have covenants or HOA’s. If this is the case, move onto step 3.
If you DO have to submit colors for review, it is always better to submit them sooner rather than later. Some HOA’s take months to review and approve your colors.
Some HOA’s require you to paint test-patches of the proposed color on your home so an HOA member can drive by and approve the colors (these are the especially finicky home owner associations).
Your HOA or Covenant usually has a form in their office or on their website that you can fill out proposing the colors you want.
Step 3: Get Multiple Estimates

It sounds like an old cliche’; “Always get 3 estimates”, but it couldn’t be more accurate. Getting multiple bids will not only get you a better price through competition, but you’ll learn what each company does differently.
There’s usually one standout company that you’ll feel most company with.
Also, I wouldn’t recommend going with the lowest bid. Good materials and good painters can be expensive..But it’s worth it.
A good painting company can make a paint job last 10+ years. A bad painting company can end up costing way more in the long run.
Basically, you get what you pay for when hiring painters.
Step 4: Clear the Way!
After you have chosen and scheduled a painter, make a clear path for your painter around your home.
This includes: removing patio furniture (or pushing it away from the siding), clearing your siding of any decorations or obstructions, keeping pets away from the work area, moving all cars out of the driveway and away from the home.
Basically move anything away from the home that is in the way of what’s going to be painted. Not only will your painter seriously appreciate it, but you’ll eliminate any unnecessary obstruction problems.
Step 5: Prep Audit

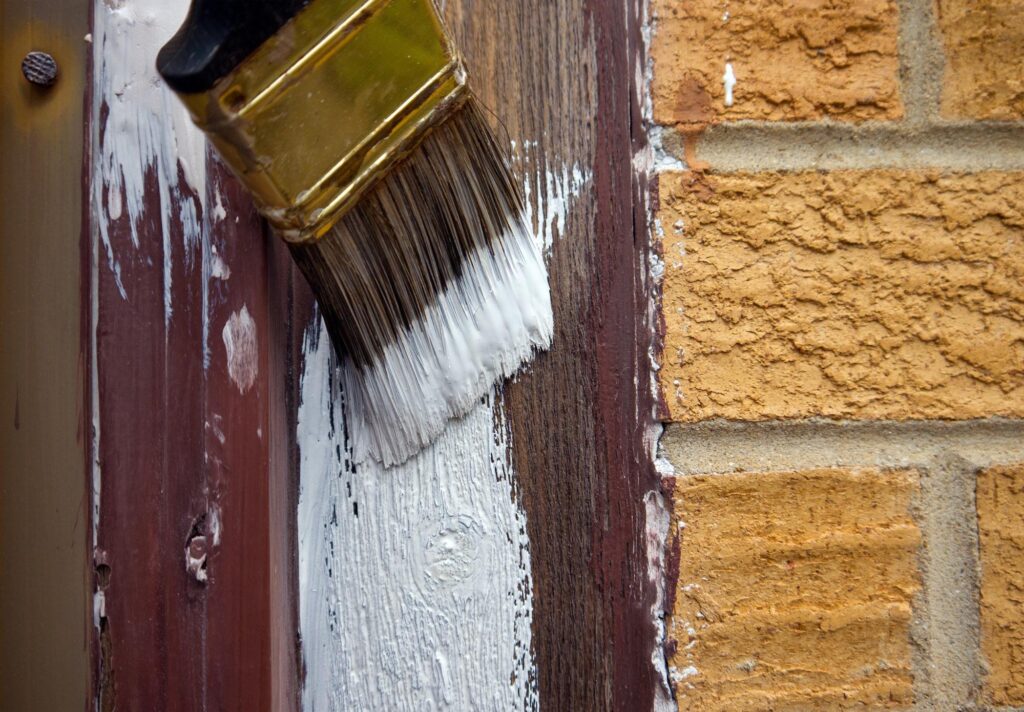
Unfortunately, many painting companies will cut corners on the most important aspect of a paint job: The ‘prep work’.
I highly recommended that you get all the prep-work to be done in writing and guaranteed on your project agreement.
It is almost impossible to inspect the level of prep-work AFTER it’s been painted over. This is why it’s extremely important to do a prep audit before the painters apply the paint.
Simply ask the painters if you can see the prep-work they’ve done before they start painting. If they do great prep-work, they’ll be happy to show you their work.
Not only will this emphasize your need for good prep-work, but it will also keep shabby prep-work from being covered up by paint. Ask for a prep audit!
If you take care of these important steps before painting your house, the whole process will be exponentially easier for you and your painter. Thanks for reading and happy painting!
